


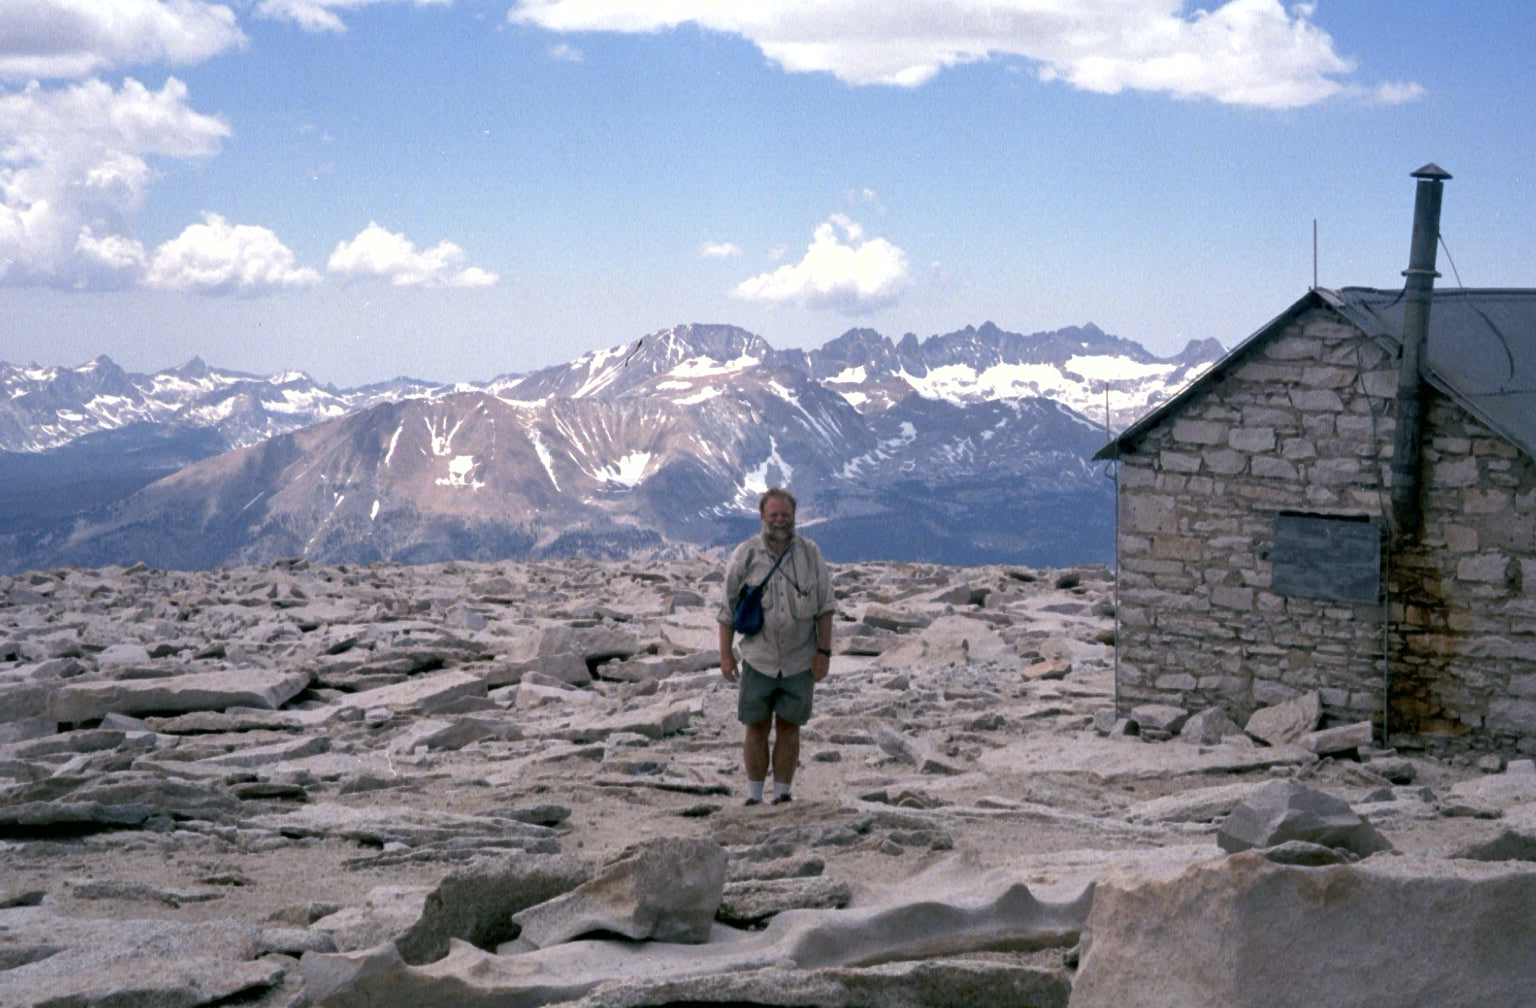

Photo credit: Leif Jacobson
Earlier this fall, I, along with my Dad and neighbor Leif, hiked the Timberline trail. The trail is roughly a 40-mile loop around Mount Hood and consists of rocky trails and sweeping views of Mt. Hood. This trail is well worth your time if you have a long weekend on your hands. I want to begin by saying I'm not an expert, and this article is written from the point of view of a newcomer, as this was one of my first long-distance backpacking trips. Here is my overall summary of my trip and some tips I picked up along the trail.
On the first day of the hike, we arrived at Timberline Lodge around 2 pm and began hiking by 3 pm. We started at timberline lodge and traveled clockwise, hiking roughly 6 miles to our first campsite. We did this as an alternative to waking up at 4 am and driving up to timberline to start the hike at a reasonable hour. Instead, we decided to camp on the trail the night before and have peace of mind knowing that we could get out of our tents, pack up, and start hiking. On our first night, we camped at Paradise Park. The first few miles were straight downhill which made for a quick descent.

Photo credit: Leif Jacobson
On our second day we hiked from Paradise Park to Cairn Basin which was roughly a ~16 mile day. There were no significant river crossings that I recall but once again, conditions change depending on the season and past weather events. The stretch we hiked (including the cutoff/detour) was filled with elevation change but at no point did we find it hard to navigate or find the trail. Our campsite had a small creek about 100 meters away with cold clear water that was easily filtered using our Sawyer filters paired with two Cnoc water containers as a gravity fed water filtration system. Our site was located near a boulder field with plenty of coverage from wind and weather as well as plenty of space/privacy to do your business.

Photo credit: Leif Jacobson
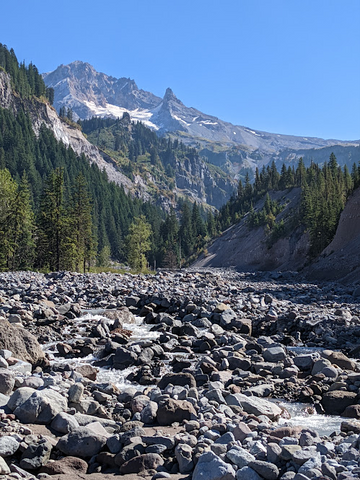
Photo credit: Leif Jacobson
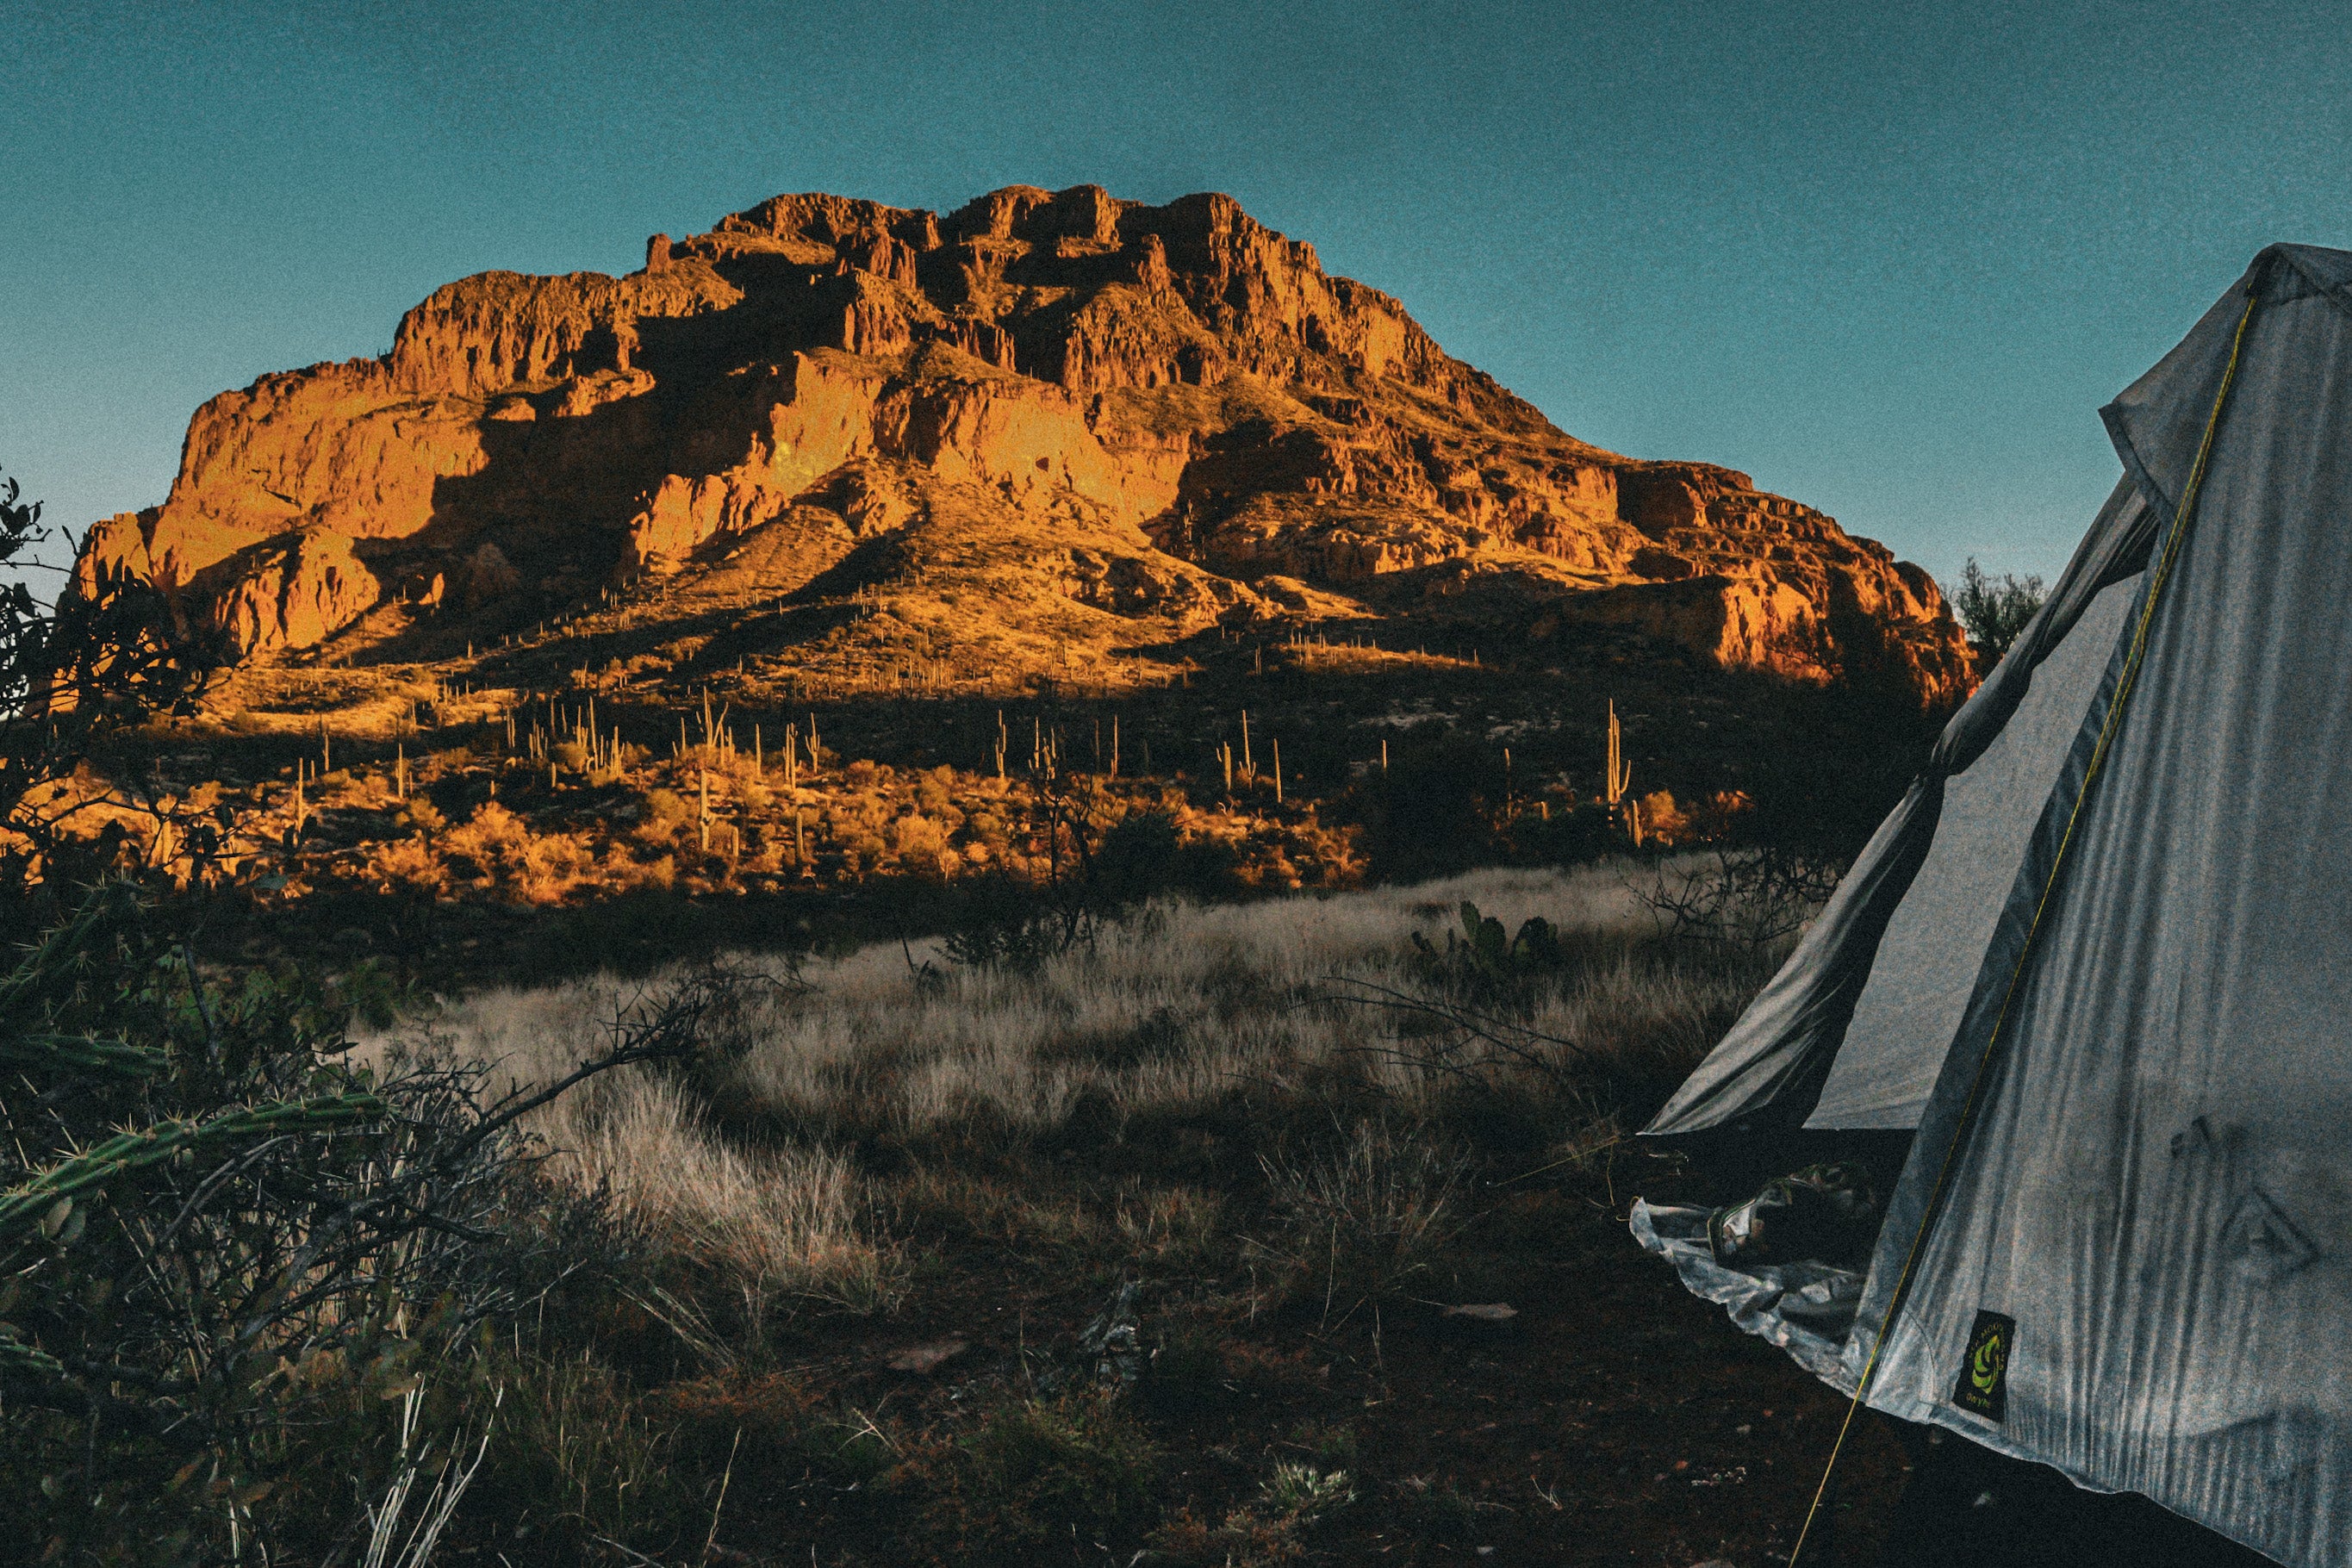
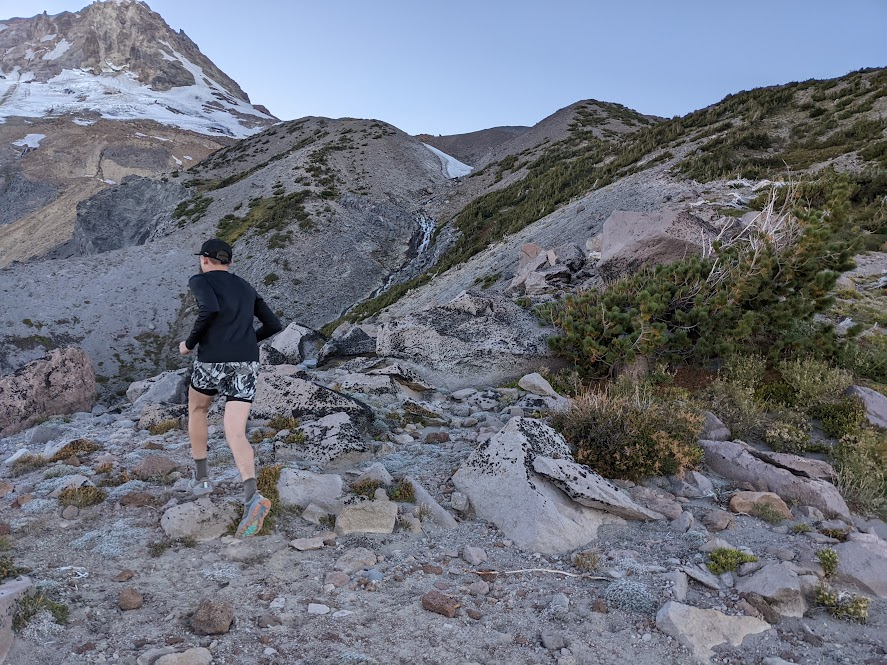
We began our third day around 9 am. During the weekend there is lots of traffic on the trail, making for lots of stops, it can get pretty slow going at times. There were a few large river crossings, The Elliotte branch was the most difficult on our trip. We were quite fortunate though, because the river was low making it easy to pass with a few parkour moves off of half submerged boulders. After the Elliotte branch crossing there is a steep climb out of the canyon to Cloud Cap Saddle Campground. The campground has public restrooms as well as a water spigot where you can refill water bottles. From Cloud Cap Saddle Campground we hiked around 4 miles to our next campsite near Gnarl Ridge. This camp site did not have much water nearby, so before sunset I took a run up a nearby ridge and down into a canyon to fill up a water container to filter (This was a tough rock scramble and I would not advise it. It was about ~1 mile there and back). The water in the river was quite silty, which can clog your water filter, which we found out later that evening making dinner. Our camp was exposed but had the best views of the trip.

(some trail running) Photo credit: Leif Jacobson
On our 4th and final day, we hiked the last leg, roughly ~8 miles from our campsite to Timberline Lodge. It was the worst day since the whole group was tired, dirty, and hungry. We hiked through Mt.Hood Meadows and crossed 3-4 small rivers, all about ankle-deep. Once we arrived back at the lodge, we rushed down the mountain to eat the first burger we came across. Overall the trip was a 5 out of 5; well worth the time and effort. Here is the gear I used and some tips I picked up on the trek that can help anyone planning on hiking the trail in the future.

Photo credit: Leif Jacobson
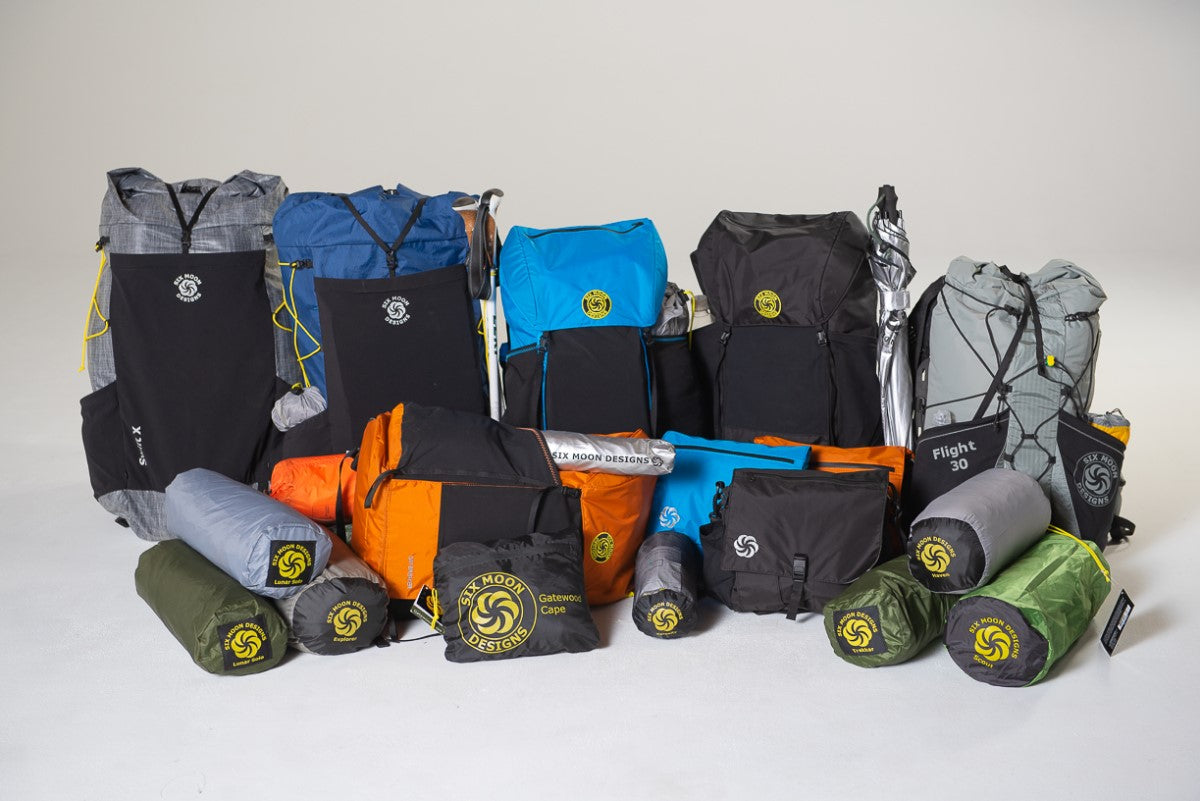
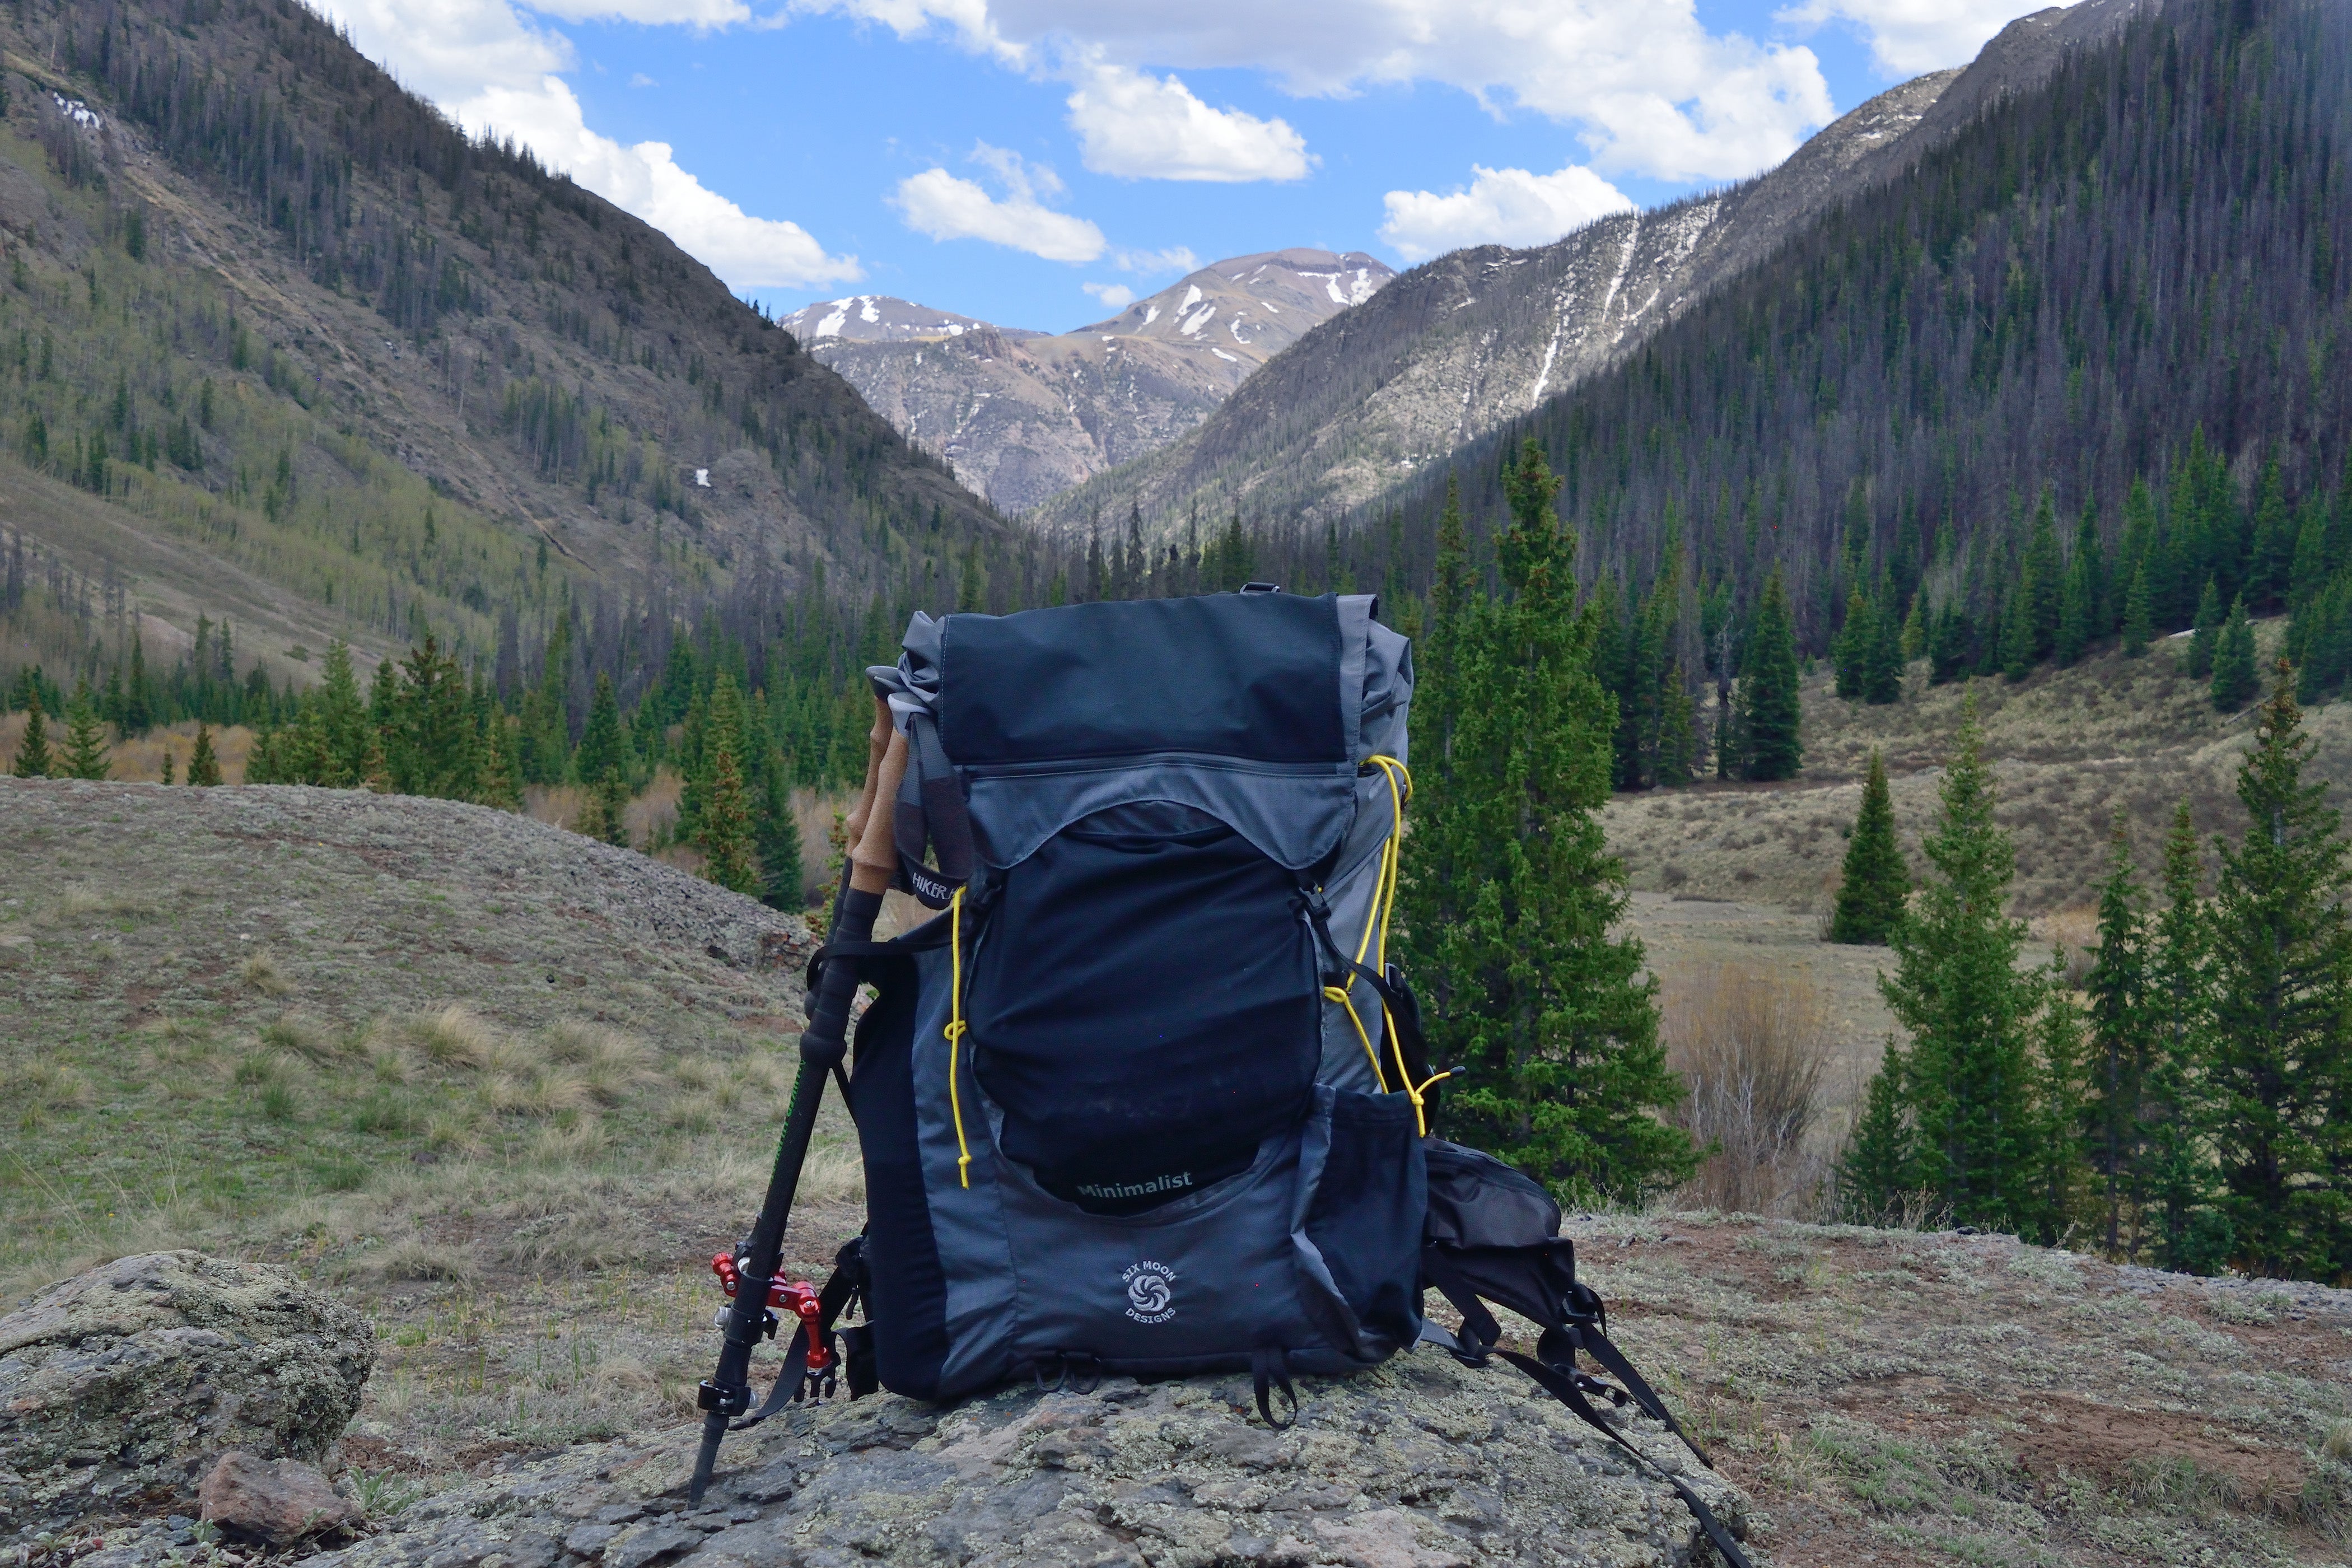
I hiked the trail in one of my favorite packs, the Six Moon Designs Swift V , a 40L frameless pack along with a waterproof pack liner. This setup gave me plenty of extra room and kept my gear dry. My pack weighed less than 30 pounds, the lighter you can go the better. For my shelter, I brought the Haven UL tarp along with the Haven net tent for that extra bit of coverage from the elements. The tent was super simple to set up and roomy enough for my sasquatch sized dad and me. A solid tent footprint is also a must, since all of the tent sites seemed to be incredibly sandy/ rocky.
Throughout the trail the terrain varies, but for the most part it consists of dusty and steep rocky sections. I got away with wearing my trail runners but I did find myself wanting a little extra bit of ankle support at times. If you are somebody with messed up ankles like me, I would advise wearing a trail based running shoe for this specific trail.

Photo credit: Leif Jacobson
We hiked the trail in 3 nights and 4 days, two of which were half days. I suggest splitting it up into 3 days and two nights for anyone planning to hike this trail. This will give you plenty of time to enjoy the beautiful views and steep climbs.
Some must-haves for the trail:
- Crocs/sandals: Cause who wants to wear dirty/wet shoes after a long day of walking. Strap 'em to your bag and forget about them…until you set up camp
- 2 sawyer filters: The silty alpine water can clog these types of filters, so just to be safe you should bring at least two.
- Puffy jacket: It gets real cold up there, so pack one.
- Tons of cliff bars: cause they are the best (especially when your Dad and his friend don't know how to make freeze-dried food)
Other than freeze-dried food and cliff bars during the trip, I ate a delicacy known as the PB&J burrito. This snack will keep you energized throughout your day. After eating Around 5 of them, though, the novelty wears off. They are made by simply slapping peanut butter and your favorite jam onto a tortilla and then rolling it up like a burrito.

Photo credit: Leif Jacobson
In summary, I loved the trip and have intentions to trail run it in the near future but in the meantime hopefully you found this article helpful or were at least entertaining and are encouraged to hike it yourself. Thanks for reading and I hope you enjoyed it.
-Rory
Leave a comment
This site is protected by hCaptcha and the hCaptcha Privacy Policy and Terms of Service apply.