By Mandy "Veggie" Redpath
So you’ve heard a lot of hype about getting a sleeping bag liner.
But, they can be expensive and they add extra weight to your pack.
Is it worth it?
As a seasoned thru-hiker, I say yes! In this post, I’ll start with what a sleeping bag liner is and explain the various types of liners. Then, I will break down WHY I always carry a sleeping bag liner and how it has helped me stay warm and cool (yes, both). And finally, I’ll recommend a few sleeping bag liners as well as how I made my own.
First and foremost: What is a sleeping bag liner?
A sleeping bag liner is a lightweight insert to a sleeping bag. If your sleeping bag is like a comforter, then the liner is like a sheet.
Types of Sleeping Bag liners: Materials and Sizes Explained
Now you’ve looked online and seen how many different liners exist. But, what type do you get and what do all the measurements mean?
Commercial sleeping bag liners are made of three main materials: silk, fleece, and cotton.
- Silk: The lightweight liner. Silk sleeping bag liners are the best liners for most thru-hikes. They will offer you a little extra warmth and a lot of cleanliness.
- Fleece: The heavier, warmer liner. A fleece liner will definitely add warmth. And a hefty amount of weight. If you suddenly encounter very cold temperatures and only have a 40 degree F sleeping bag, this would be a great option.
- Cotton: The mid-weight liner. Cotton sleeping bag liners are ideal for travel and hostel hopping. Because cotton offers no warmth when wet, it is not ideal for backpacking or thru-hiking.
Liners will also come in measurements like: Mummy, Standard, Long, and Extra Wide.
- Mummy: A mummy liner is the lightest weight size. They will be widest at the shoulders and hips, then they taper down to the feet. Some mummy liners will have a hood as well.
- Standard: A standard liner is a rectangle. They will be the same width at your shoulders as at your feet. Some standard liners will have a hood as well.
- Long: A long liner is a rectangle unless it says Long Mummy. Long liners are for tall people. If you’re 6ft tall or more, a long sleeping bag liner will be more comfortable for you.
- Extra Wide: An extra wide sleeping bag liner is great for people who need extra width in a liner. It is usually a standard length, but is wider to accommodate more body types or two people depending on the liner.
Why I carry a sleeping bag liner

Here are my reasons for carrying a sleeping bag liner on every thru-hike:
1.) It keeps your sleeping bag cleaner and thus, extends the life of your sleeping bag.
Thru-hiking is dirty business. I’m usually hiking 4-5 days between most towns. That means I have up to 5 days of dirt, sweat, body oils, sunscreen, and general grime on me.
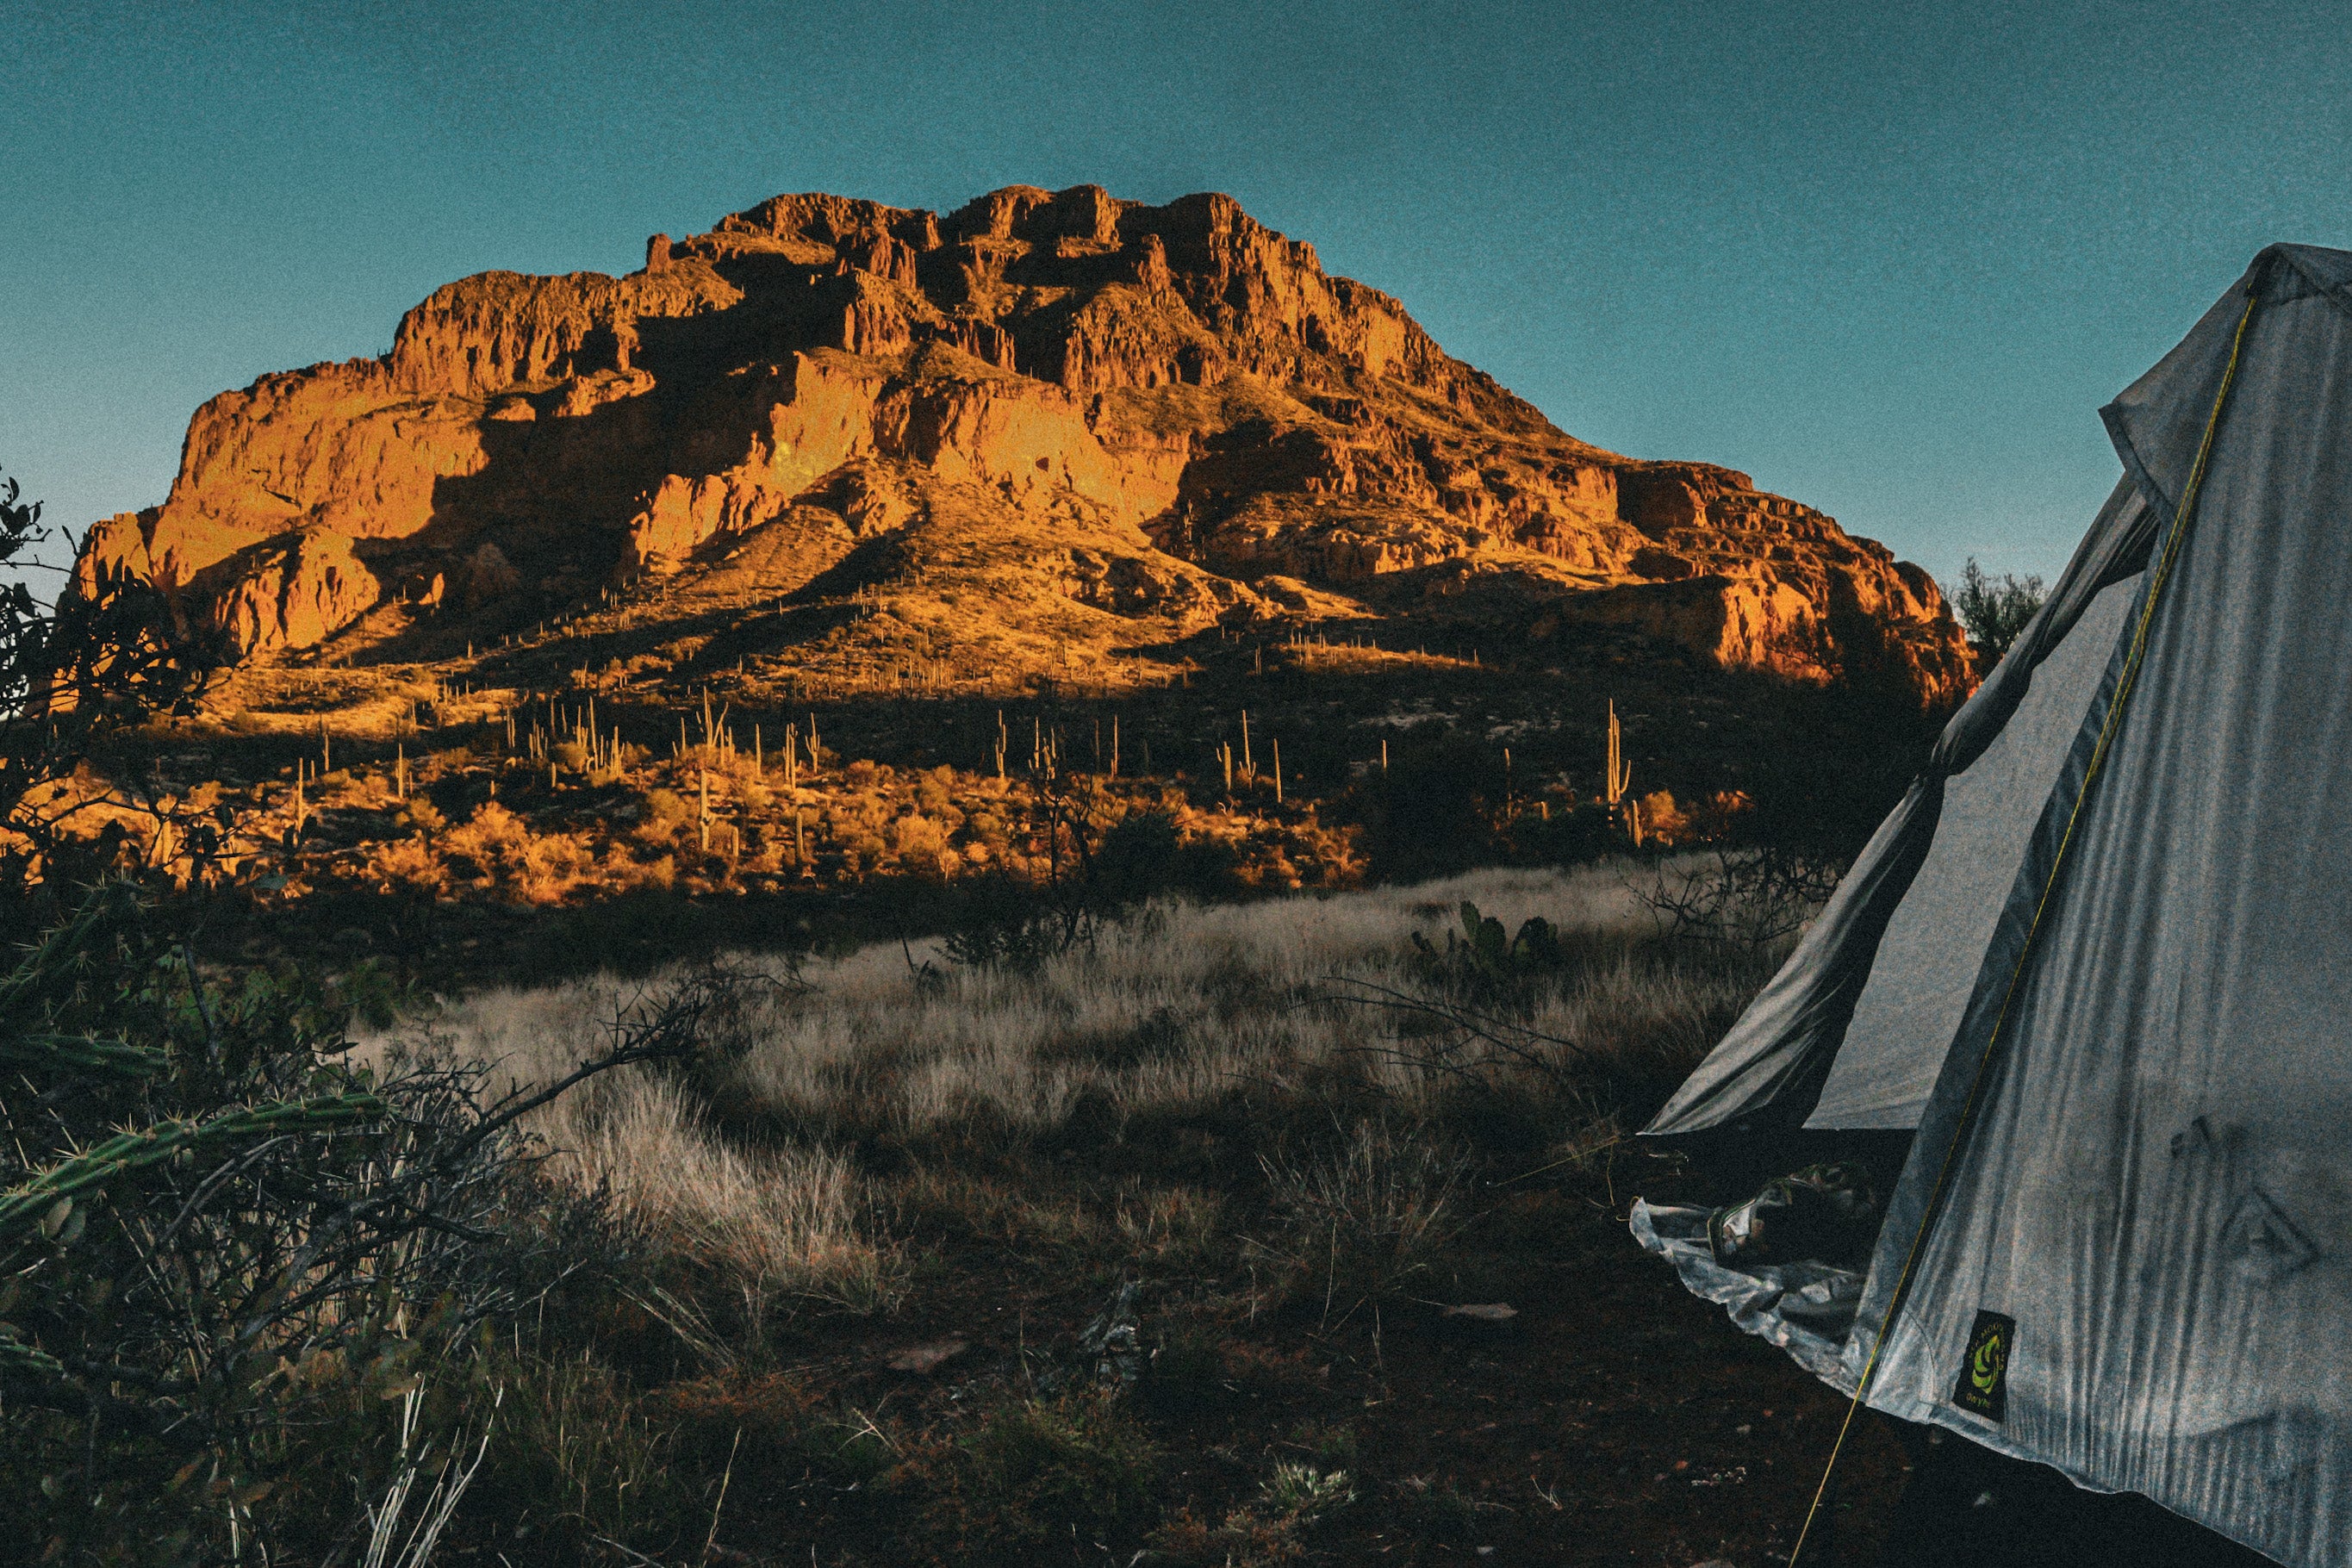
When I finally finish hiking and pitch my Haven Tarp, all I want is to crawl in my sleeping bag and go to bed. And you guessed it! All that grime comes with me into the bag.
However, if I have my sleeping bag liner, all that grime goes inside the liner and NOT the sleeping bag. Thereby, the sleeping bag (which is inevitably expensive) stays significantly cleaner.
When your sleeping bag is cleaner, it lasts longer. All those body oils, sweat, and grime can and will degrade the insulation of your bag. They will especially degrade the lightweight down bags because the outer fabric is very thin and down is susceptible to moisture.
To sum up: my sleeping bag liner gets all my grime and keeps it from transferring to the sleeping bag. Personally, when I spend a lot of money on a sleeping bag, I want it to last as long as possible.
2.) You can wash it easier than washing your sleeping bag.
Washing a sleeping bag is a royal pain. Especially if it’s down. First, you need a front-loading washer. Second, you need specific down wash. Third, you need to dry it at incredibly low temperatures making the drying time take hours. And finally, you need to find a few tennis balls to break up the down clumps while drying them.
Why do that in the middle of the trail if you don’t have to?
Each town that I do laundry in, I wash my sleeping bag liner. It simply gets put into the normal washing load and hung in the hotel room to dry. Because I use either silk or lightweight polyester materials, it dries in no time.
This way, all that dirt and grime gets washed out each town instead of compounding for an entire thru-hike.
Don’t you like falling asleep inside something that you can clean regularly? I sure do!

3.) It can make you warmer in the cold or use it as a sheet in the heat: Do they work?
If a sleeping bag liner can make you warmer is often a hot topic of debate.
First, I would say yes. A sleeping bag liner works and it is worth it. Although, the amount of warmth it offers might not be as much as the liner company claims. Don’t get caught up in the specific degrees of warmth, but rather in the weight you want to carry.
Second, the degree to which it makes you warmer depends on the thickness of your liner. For example, a fleece sleeping bag liner will be warmer than a silk sleeping bag liner. Would I carry a fleece liner on a thru-hike? No. Would I carry a silk liner that would make me a little warmer? Yes!
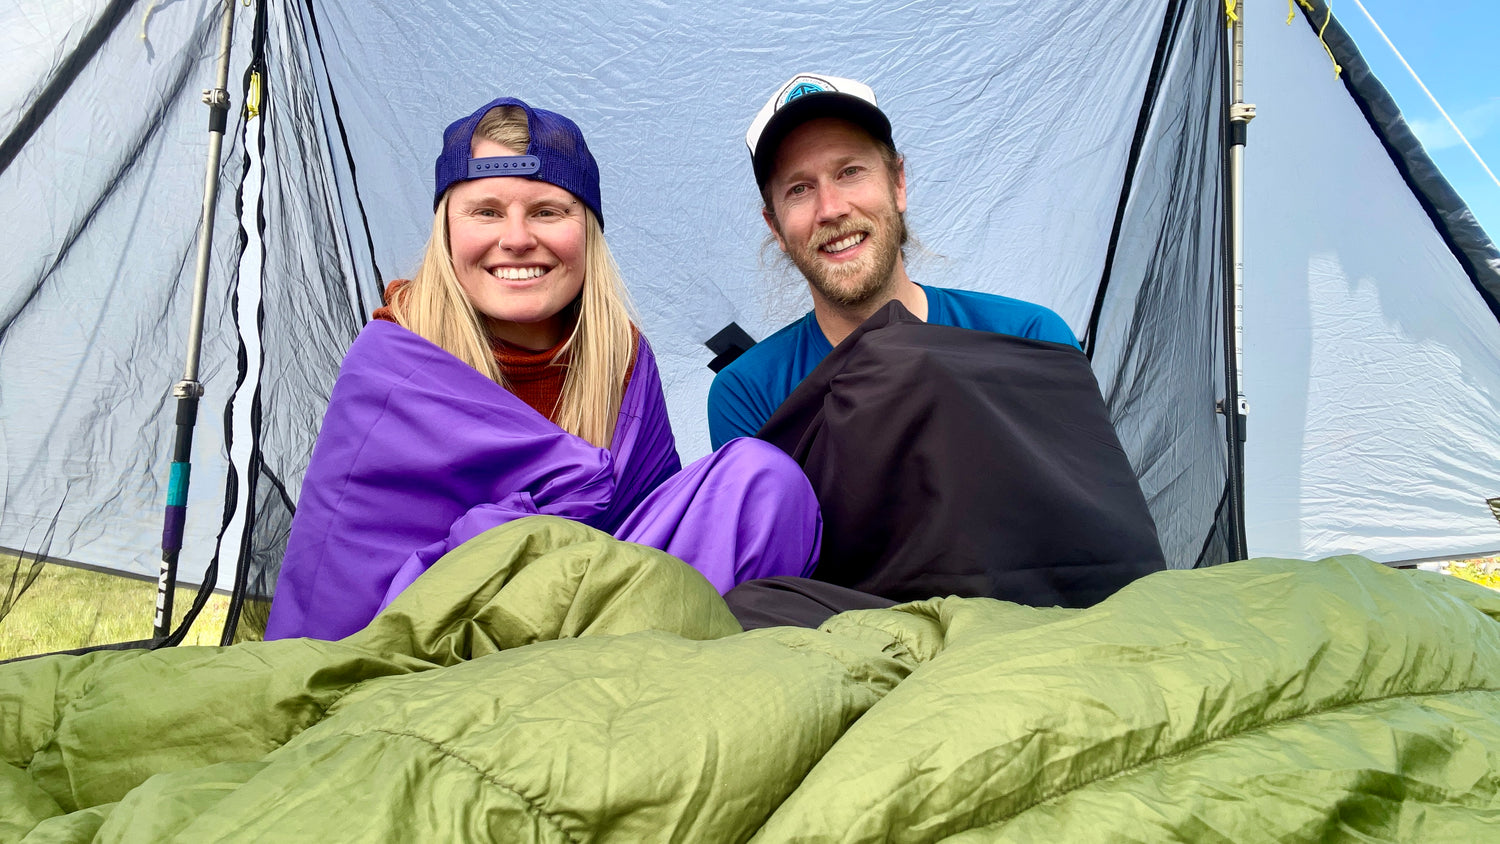
Third, an ultralight sleeping bag liner can be used as a sheet in warm weather. In this case, I would lay my sleeping bag over myself as a blanket and be inside the liner. It is much more comfortable to be laying inside a liner than directly on your sleeping pad.
Recommended Sleeping Bag Liners
1.) Sea to Summit Premium Silk Mummy Liner. This is the lightest and best sleeping bag liner I’ve ever carried. It’s comfortable, easy to wash, dries quickly when hung up, and light. This will add a little warmth, but mostly cleanliness. The only downside: I’ve never gotten one to last more than one thru-hike. Because it is so light, I eventually rip holes in it.
2.) Sea to Summit Adapter COOLMAX Mummy Sleeping Bag Liner with Insect Shield. If you like to cowboy camp this will repel those pesky mosquitos and gnats, give you a little extra warmth, and keep your sleeping bag cleaner. While it is heavier than the silk version, you save money.
3.) Sea to Summit Thermolite Reactor Fleece Liner. This sleeping bag liner warmth is cozy. It feels great and works well. I recommend this for hostel cruising and international travel. While it is warm, it is also heavy for a liner.
You can easily make one with basic sewing skills – DIY

So, you’re on board with sleeping bag liners, but cringe at some of the prices. If you have a sewing machine or know someone who does, making your own can be quite simple. Never underestimate the power of asking Moms, even someone else’s Mom.
What you’ll need to make a DIY sleeping bag liner:
- 2-2.5 yards of fabric. I’d recommend silk or lightweight polyester. It’s helpful if it has some stretch in it.
- Strong thread. We used the Ray Jardine thread.
- Sharp Scissors. Use scissors that have not cut paper for a decade.
- Pins. This will help you keep the shape while you sew straight lines.
- Sewing Machine. While you could do this by hand, a sewing machine will make it go super fast.
My partner and I started by going to a JoAnn’s Fabric Store and finding some lightweight polyester fabric. Since I’m short (5’2”), I only needed about 2 yards of fabric. If you’re unsure, most of the people working at JoAnn’s sew themselves, so they are a great resource to ask for help.
Since we live in our van, we set up a sewing station outside and plugged a sewing machine into our van’s solar system.

While my partner, Karma sews, we convinced his Mom to come join the fun and help us. She brought her RV and we made two sleeping bag liners in less than two hours.
We started by measuring the fabric to our heights and widths, then cut off the extra.
Jumping on the sewing machine, Karma sewed up the side panel first and gave it 3 seams to make sure it was secure. Then, he sewed the foot box with a zigzag seam since that takes a lot of force.
And, voilà!

It really was that simple. Each liner weighed in at 5.9 ounces. We could have tapered it a bit more to shed a half an ounce, but we decided foot room was nice.
Conclusion
In summary, I highly recommend a sleeping bag liner because it’s cleaner, easier, and it gives you just a little extra warmth on cold nights. Once I got one, I’ve never gone back.
About the Author
 Mandy “Veggie” Redpath was raised on the East Coast, but the West stole her heart. She had a pivotal moment in college at Syracuse University that started the westward trend. At a club fair, she went to sign up for club lacrosse. However, the team looked miserable and bored. A few tables over, the Syracuse University Outing Club (SUOC) was carrying someone around in a backpack and having way more fun.
 SUOC taught her how to backpack and backpacking became the activity that her life revolved around. She completed two Caminos and the AT while in college. Upon leaving, she leveraged those connections to get a job in Vail, Colorado where they expect you to arrive in the fall and quit in the spring. Perfect for thru-hiking!
Veggie completed the PCT the next year and found herself wanting to understand the landscapes that she hiked through. So, she went to Teton Science School and Prescott College to end up with a master’s degree in Environmental Studies.
Part way through, however, she couldn’t resist the CDT. Newly equipped to interpret changing flora and fauna, the trail resonated more than others. The CDT would also become one of her favorite trails because she met her hiking partner, Karma, there going the opposite direction.
The two would go on a hiking spree from 2016-2019 while working two jobs in the winters. She became more rooted in the Western landscapes as she learned more about them. Then, when the pandemic hit, they converted a campervan to live in together. But, the hiking itch has returned and back to the trail they go!



Leave a comment
This site is protected by hCaptcha and the hCaptcha Privacy Policy and Terms of Service apply.