
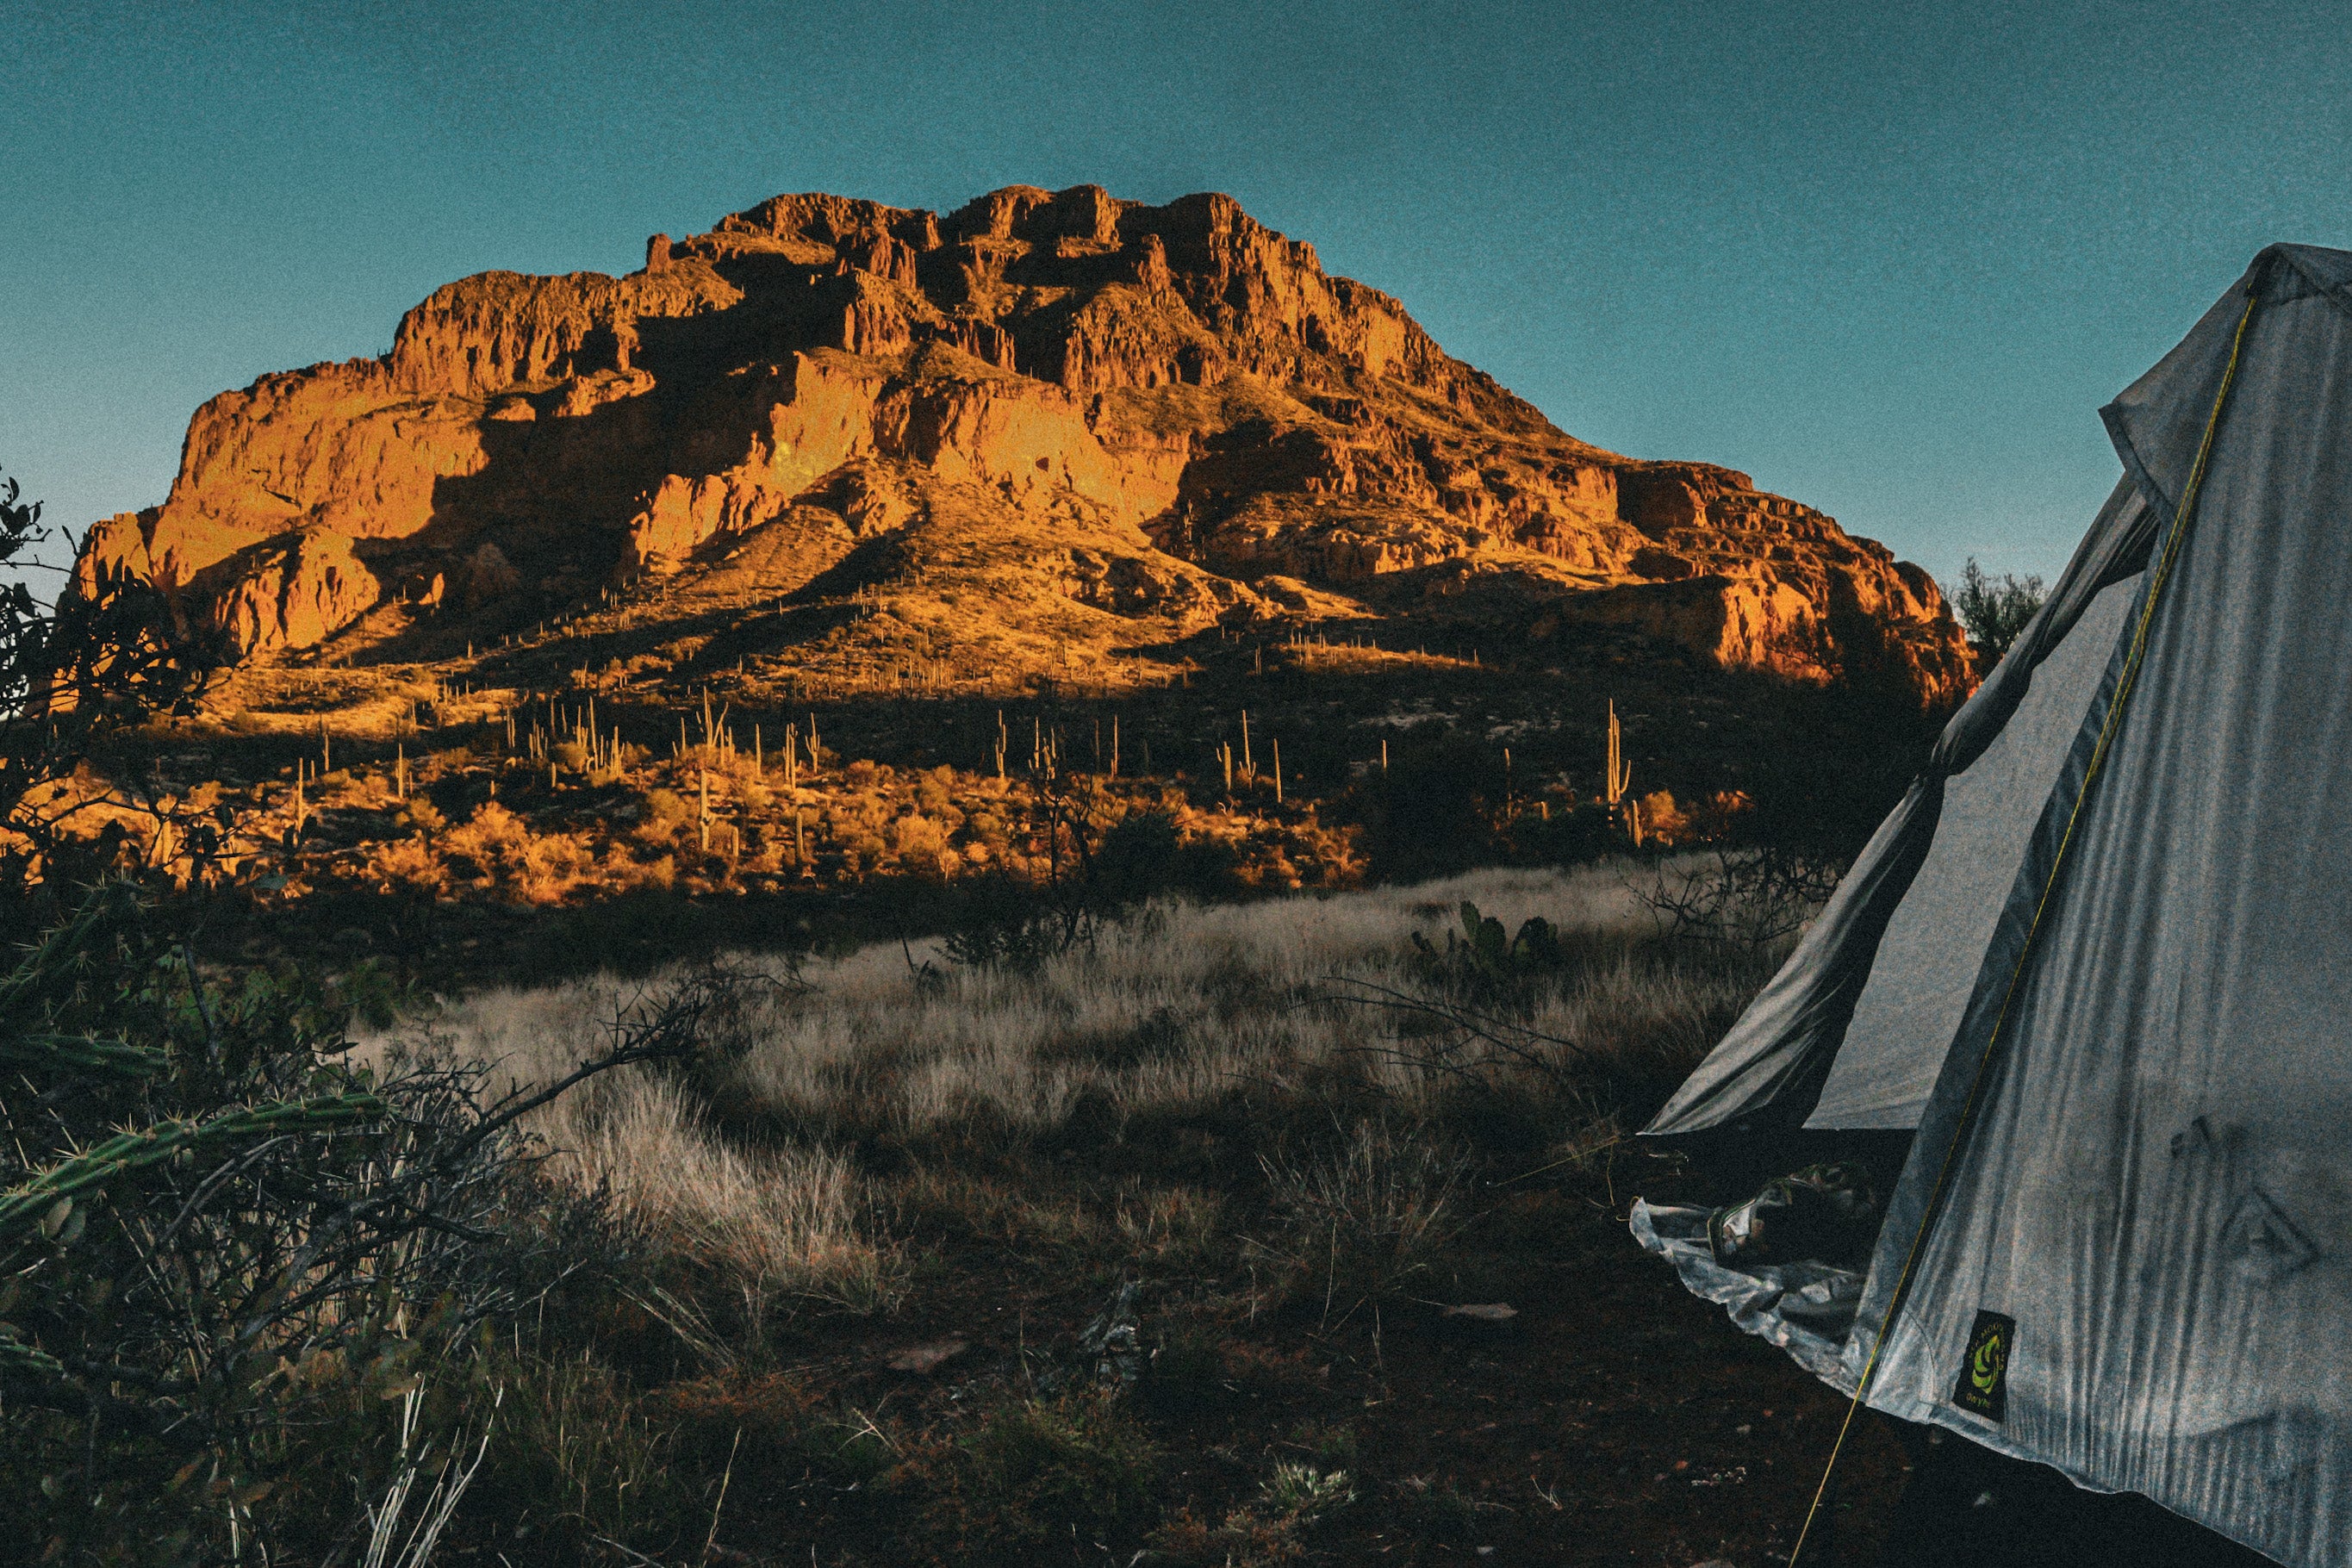
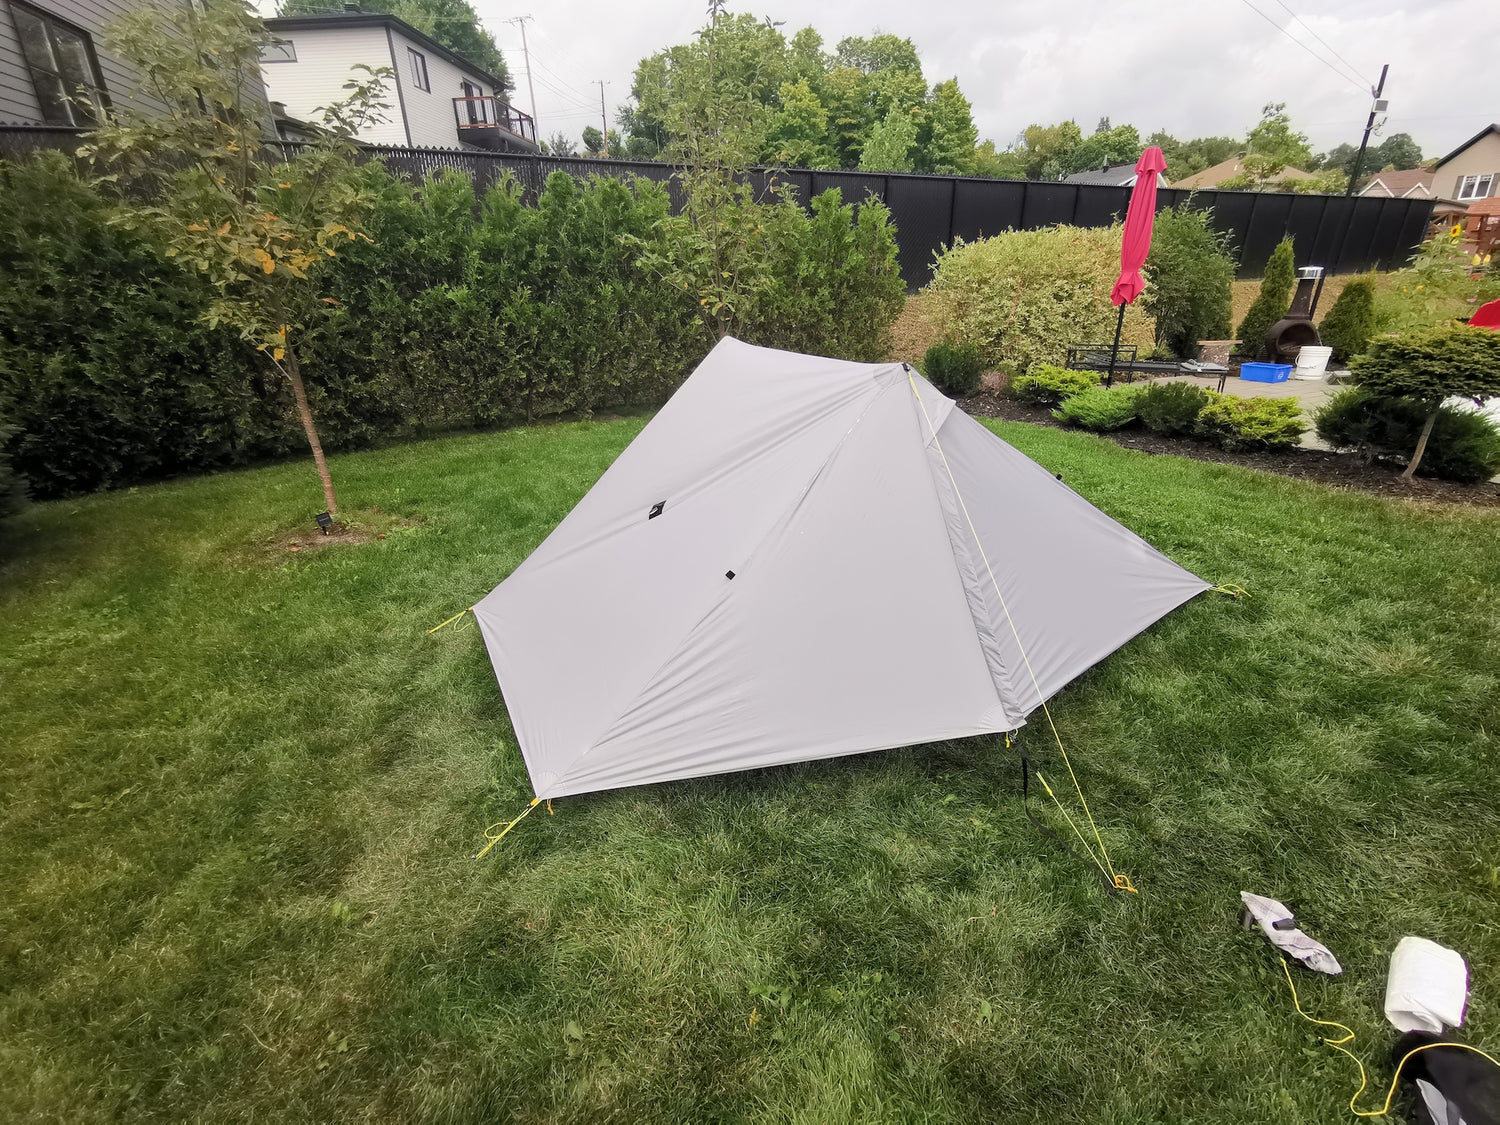
Testing out the pitch at home
Recently, I finally received the 2p Haven tent. I have been watching a lot of videos of this very nice tent for the past few months and the wait is finally over. My dream tent has arrived and here are my first impressions.
INTERESTING POINTS
- 60/40 fly split
- Double Wall Tent (Inner/Outer wall design)
- Double door large vestibule
- Inner is a detachable bug tent
- Inner width at 44"
- Inner max height is at 48"
- Bug net hangs off the fly
- Head and foot pull outs
DIFFICULT POINTS
- Sides should to be staked out during humid/wet conditions
- Trekking poles insertion points are separate on the fly and inner for independent use
- Sil nylon material can sag over time in damp conditions
- Initial tent setup takes some time to figure out
First impressions +
The 60/40 split is a great idea, ensuring you have more head room when lying down because of the angle. When using the pullouts, it creates even more space.

The asymmetric design is a unique feature of the haven when compared to other A Frame stye shelters on the market
I am a huge fan of the Outer with detachable inner walled tents. As most of us know, it rains a lot on the AT. So with the inner being detachable, the only thing usually wet is the Outer tent. Both the vestibules are huge, I can easily fit my pack, cook set and shoes underneath one vestibule. But hey, I will use one for my gear and the other for my cook set items. Not many tents can easily boast this fact.

Side view showing the net tent and tarp paired together
The width of the tent is 44" which can easily accommodate 2x20" pads or a combination of 20" and another at 24". If going Solo, it would be like living in a luxury home. The height of the tent is 48" and I have about 3-4 of room left over even sitting on a 3 inch sleeping pad and being 6 2" tall. When laying down, I had roughly 2 inches of room left. I have never had this much free headroom in my life.

0Z being 6 2" on a 3 inch pad has plenty of head room and laying down head space room.
The inner tent or bug net as some might call it actually hangs off the inner by hocks which is pretty cool idea. And as stated earlier, the inner is detachable.


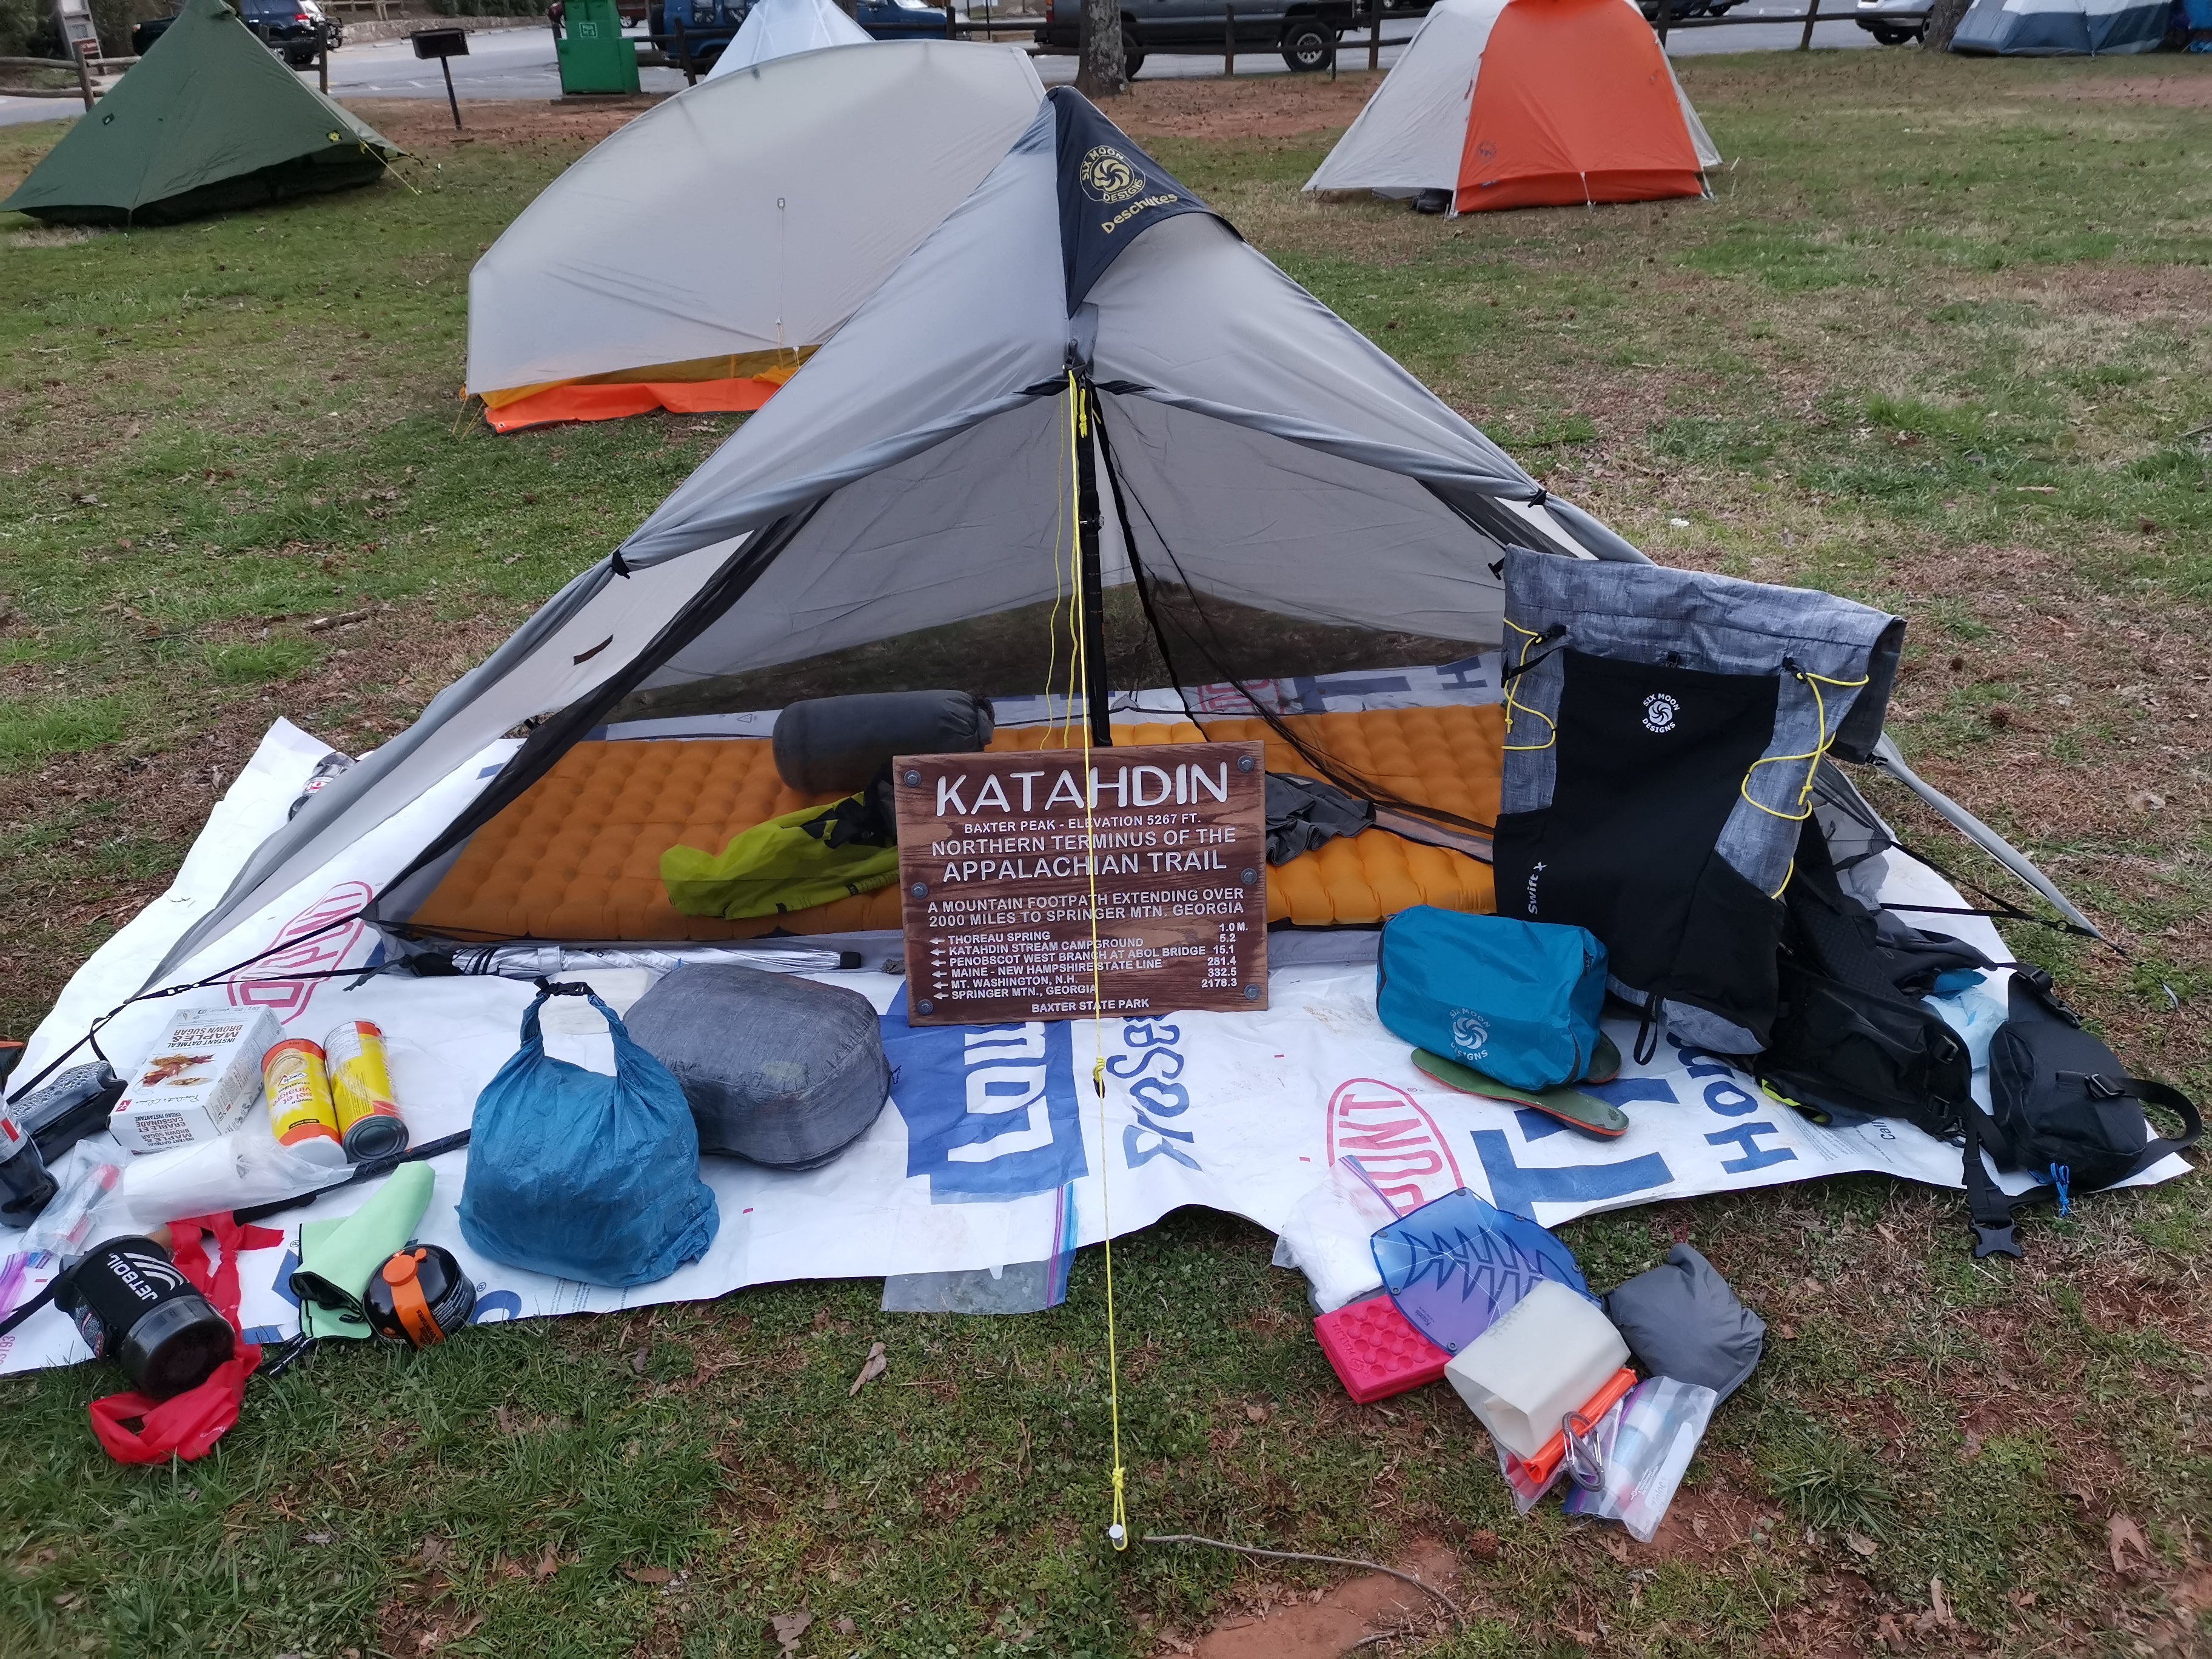
Top Photo shows how the Haven Net Tent can be uses alone with the additional guy out cords.
Bottom Photo shows the inside connection at the head and foot of the net tent to the tarp increasing interior living space.
My Initial Struggles
When it gets damp out, as it does on the AT, Silnylon has a tendency sag some form it's initial tautness during the night. As a result one must retention their guyline before turning in for the night, and maybe give them a little tug if you go outside to relieve yourself during the night. This is perfectly normal and common for all trekking pole type shelters that are not made out of a Dyneema, there is really nothing you can do about it except picking better campsites and take condensation into account. If your fly is wet, get a friend to help you shake out the fly and pack it in the big stretchy pocket or somewhere else to dry. And when taking a break, let the fly out to dry before putting it away. Another thing I noticed, is that, by utilizing the the 2 side pullouts, it will provide you with more room inside the tent, but also separate the fly and inner more too, helping with condensation management.
The trekking poles insertion points are pretty cool, but the outer and inner both have the insertion points which can be confusing at the first setup, but are great so that each can be used independently. The inner tent insertion also provides more protection from puncturing the tent.
This is an ultralight tent at 34 ounces without taking into account the stakes and ground sheet. Like all ultralight gear, handle with care.
Tent Setup
I attempted my first setup without any instructions because how hard could it be to set up a tent. Eh, well harder than I expected resulting in 2 mistakes.
1. I used extra stakes to stake out both the inner and outer independent of each other. However, upon a more thorough investigation, I found out that the inner used the same stakes as the outer.
2. I also mixed up the 60/40 split and was wondering why one side seemed too short and the other side with too much tent. Eventually, I realized that split was for the head and the foot and the connectors were color coded for ease of set up, so that one is on me.

My first set up where I staked the inner and outer separately
A few tips for your first set-up
Lay out the inner and do all the connections to the tarp in the head, foot and peak. Set up the tarp, and, once it is staked, then connect the net tent corners into the d-rings inside the tarps corners and pull tight.
After the first setup, you have the option of packing up both parts as one or separating them again. If you fold and roll the two pieces connected they will fit tightly into the Haven Tarp stuff sack. Of course, if you prefer to just shove your shelter into a sack, then I suggest buying a large stuff sack at your local retailer.
The instructions for setting up the tarp are located both in the stuff sack and also sewn into the tarp on the safety label. Of course, for a visual learner, a quick YouTube search will provide you a few videos on set up.
Final Thoughts
Overall, I give this tent a 9.5 out of 10 rating. My only complaint is that it is SilNylon (the Dyneema version is no longer available) and will eventually have some sagging overnight. However, if you select your campsite properly and set up the side guy lines, the condensation and resulting sagging problems will be very minimal.
Thank-you Six Moons on making a perfect tent for tall people with thick pads which means it is perfect for everyone else.
Happy trails eh,
Oz The Hiking Sailor




Leave a comment
This site is protected by hCaptcha and the hCaptcha Privacy Policy and Terms of Service apply.